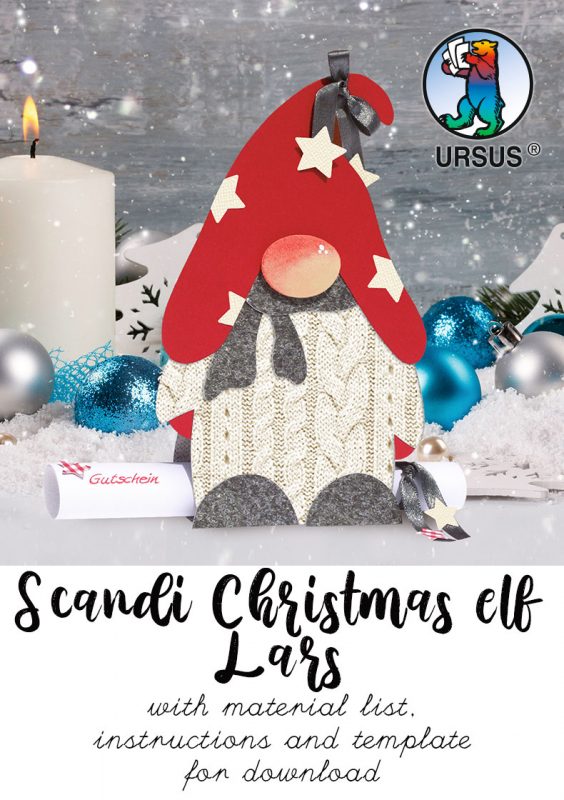
Manual scandi christmas elf lars
Folding instructions
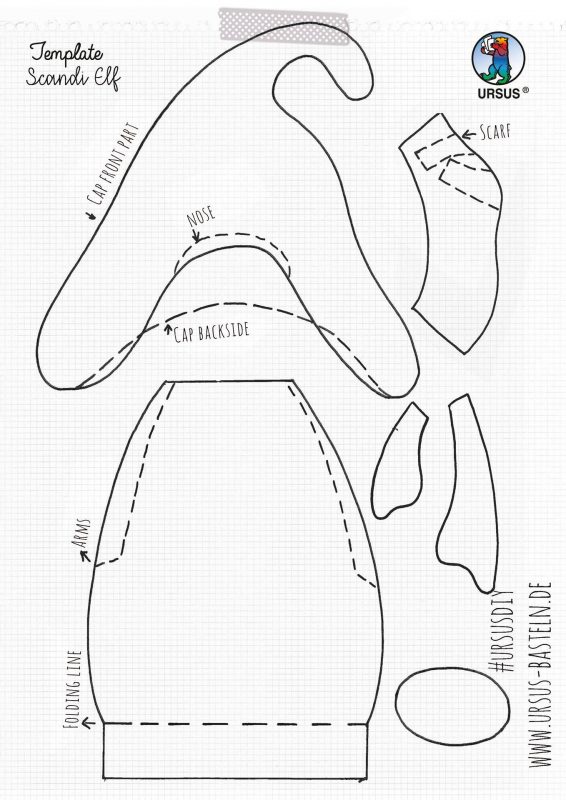
- Use a soft pencil to transfer the original onto a solid transparent
paper. Turn this over and draw the lines on the desired paper
with a hard, firm pencil. This transfers the pencil graphite. - Cut out all parts of the design. Cut out the hat and body twice.
- Shade the nose with red crayon or pastel chalk. With a white
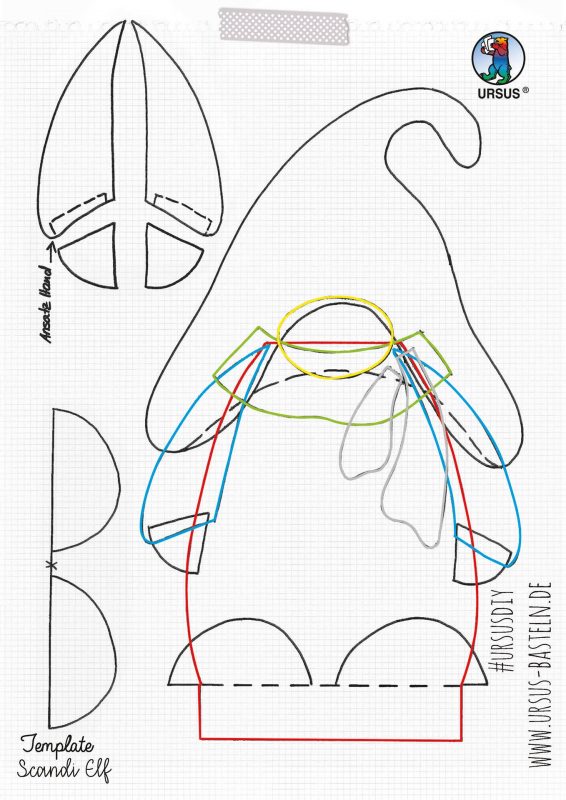
touch-up pencil, highlights are placed as dots on the nose. - Place a ruler on the dotted line of the front and back part and
draw it with a folding bone. Fold inwards. - Glue the individual parts of the design together on the front
according to the original. - Apply adhesive to the inwardly folded flap of the back section
on the underside and place it on the flap of the front section.
Apply adhesive to the upper edge and glue together with the front
part. Counter-glue the hat for the back. Tip: A laundry or paper
clip on each side holds the pieces together better until
completely dry. - Tie a bow around the top of the hat.
- Punch out the stars and place them on the hat. Cut off
protruding stars.
You also need:
pencil, ruler, scissors or cutter, glue, folding bone, touch-up pencil,
coloured pencil or pastel chalk
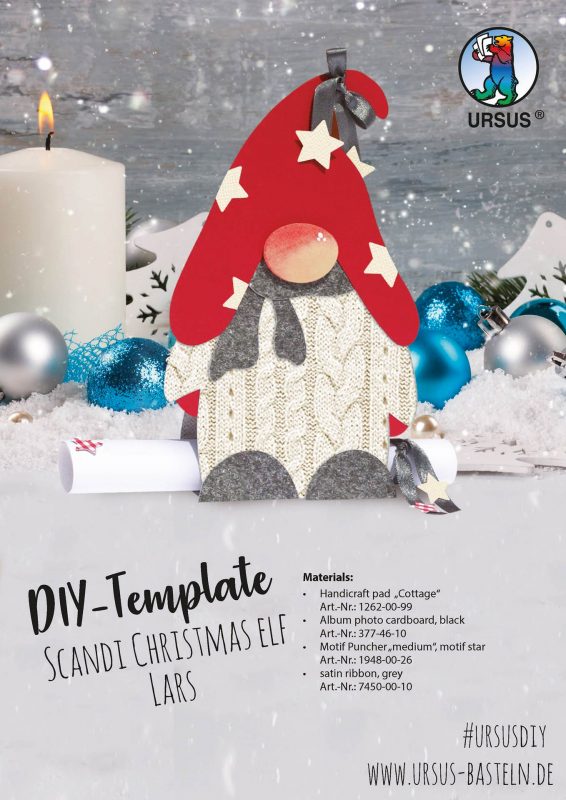
Materials:
- Handicraft pad „Cottage“
Art.-Nr.: 1262-00-99 - Album photo cardboard, black
Art.-Nr.: 377-46-10 - Motif Puncher „medium“, motif star
Art.-Nr.: 1948-00-26 - satin ribbon, grey
Art.-Nr.: 7450-00-10