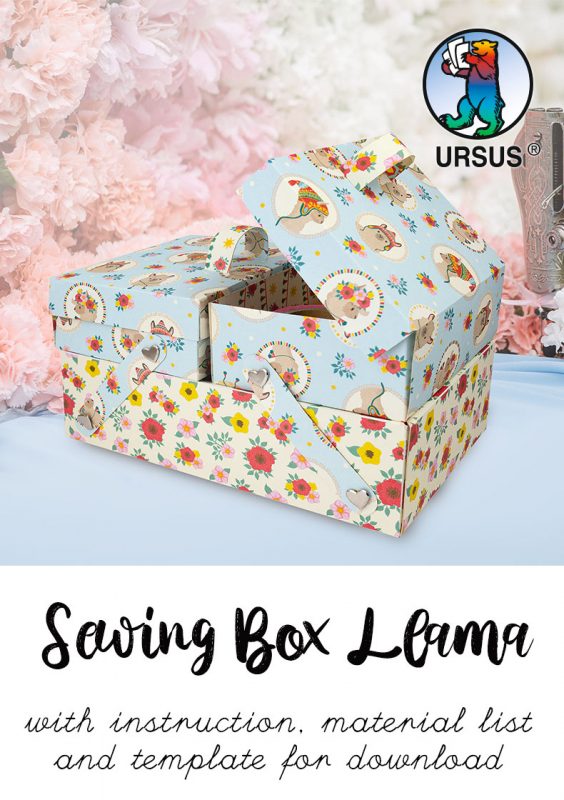
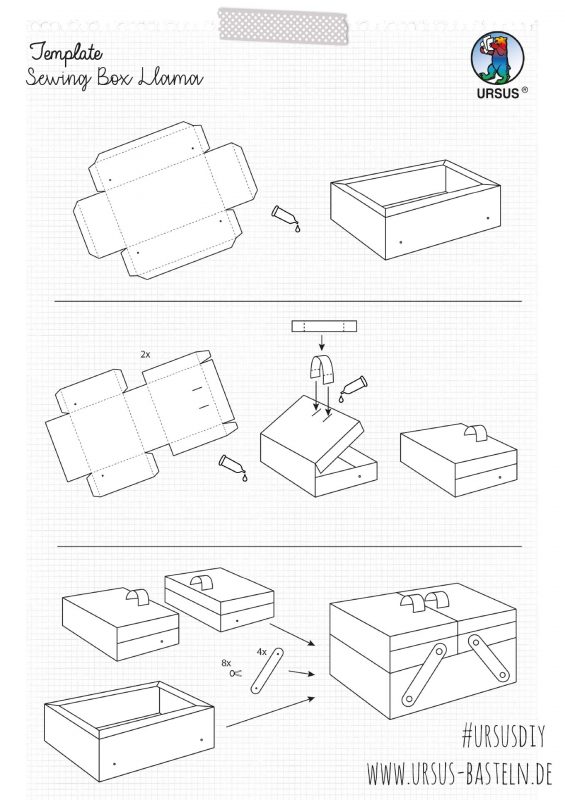
Manual Sewing box Llama

Manual

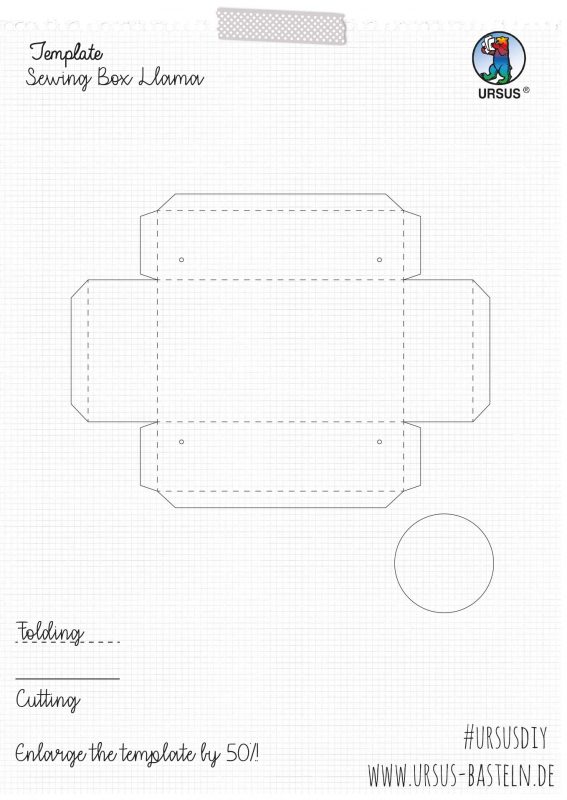
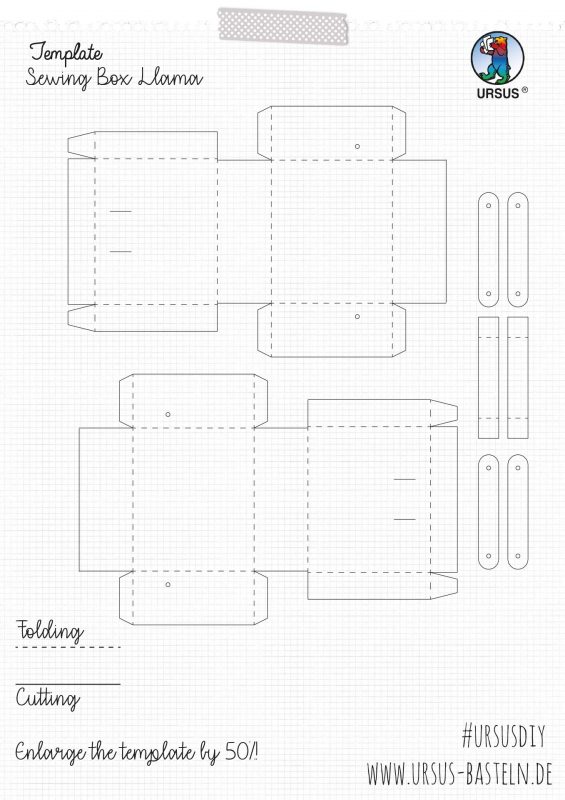
  1. Enlarge the template by 50%!
  2. Transfer the template onto transparent paper and cut it out as a template. Transfer the template for the basic body onto the corresponding paper
    and cut it out using a ruler and a handicraft knife.
  3. Draw the dotted lines with a folding bone and fold over. Punch holes
    with the eyelet at the given markings. Cut two slits in each lid at the
    markings, put the paper strips through and fix them on the back.
  4. Glue the boxes together according to the template. Connect the
    connectors with a “Brad” according to the template.
  5. Cut a small piece of wood from the motif photo cardboard and attach it
    to the handle with a piece of jute.
  6. Decorate as desired with accessories and a lettering.

Attention! Not food safe!
Please only fill with packaged goods.

You also need:
Pencil, scissors, craft knife, cutting pad, strong transparent
paper, liquid glue and folding bone.
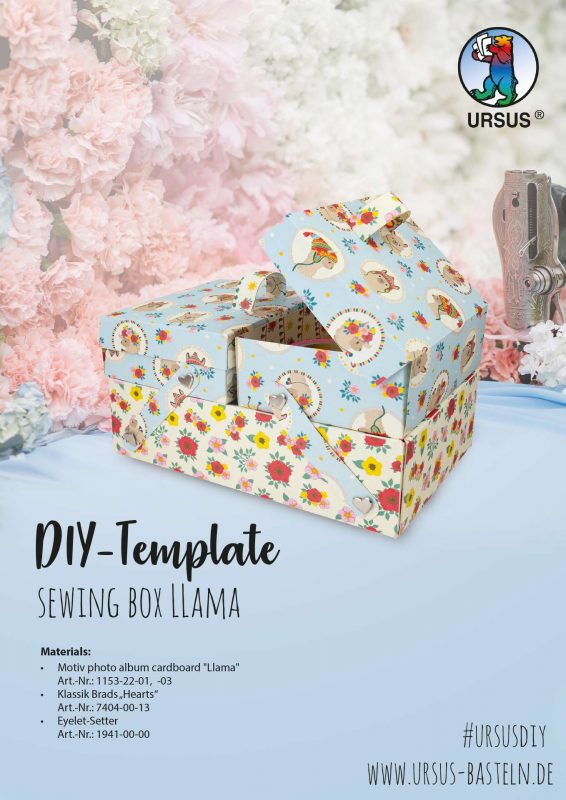
Instructions from URSUS Sewing box Lama Site 1
Instructions from URSUS Sewing box Lama Site 2
Instructions from URSUS Sewing box Lama Site 3
Instructions from URSUS Sewing box Lama Site 4
Instructions from URSUS Sewing box Lama Site
Materials
  • Motiv photo album cardboard “Llama”
    Art.-Nr.: 1153-22-01 
    Art.-Nr.: 1153-22-03 
  • Klassik Brads „Hearts“
    Art.-Nr.: 7404-00-13
  • Eyelet-Setter
    Art.-Nr.: 1941-00-00